Thanks for purchasing your chia microgreen grow kit!
We love to use these on weird things like watermelon, curry, in a smoothie, on eggs, or in a salad.
Chia greens have a very unique aromatic flavor.
Pretty standard for our operation is: a 16oz plastic container with dirt.
We try to use a sterile medium for growing, usually coco coir or worm castings.
Here are the steps for growing your microgreens.
Depending on the stage at which your kit was purchased, please proceed to the corresponding section.
The steps loosely coincide with the number of days it takes to grow the microgreens.
Chia tends to grow very fast, so don’t let these die before you get to harvest them!
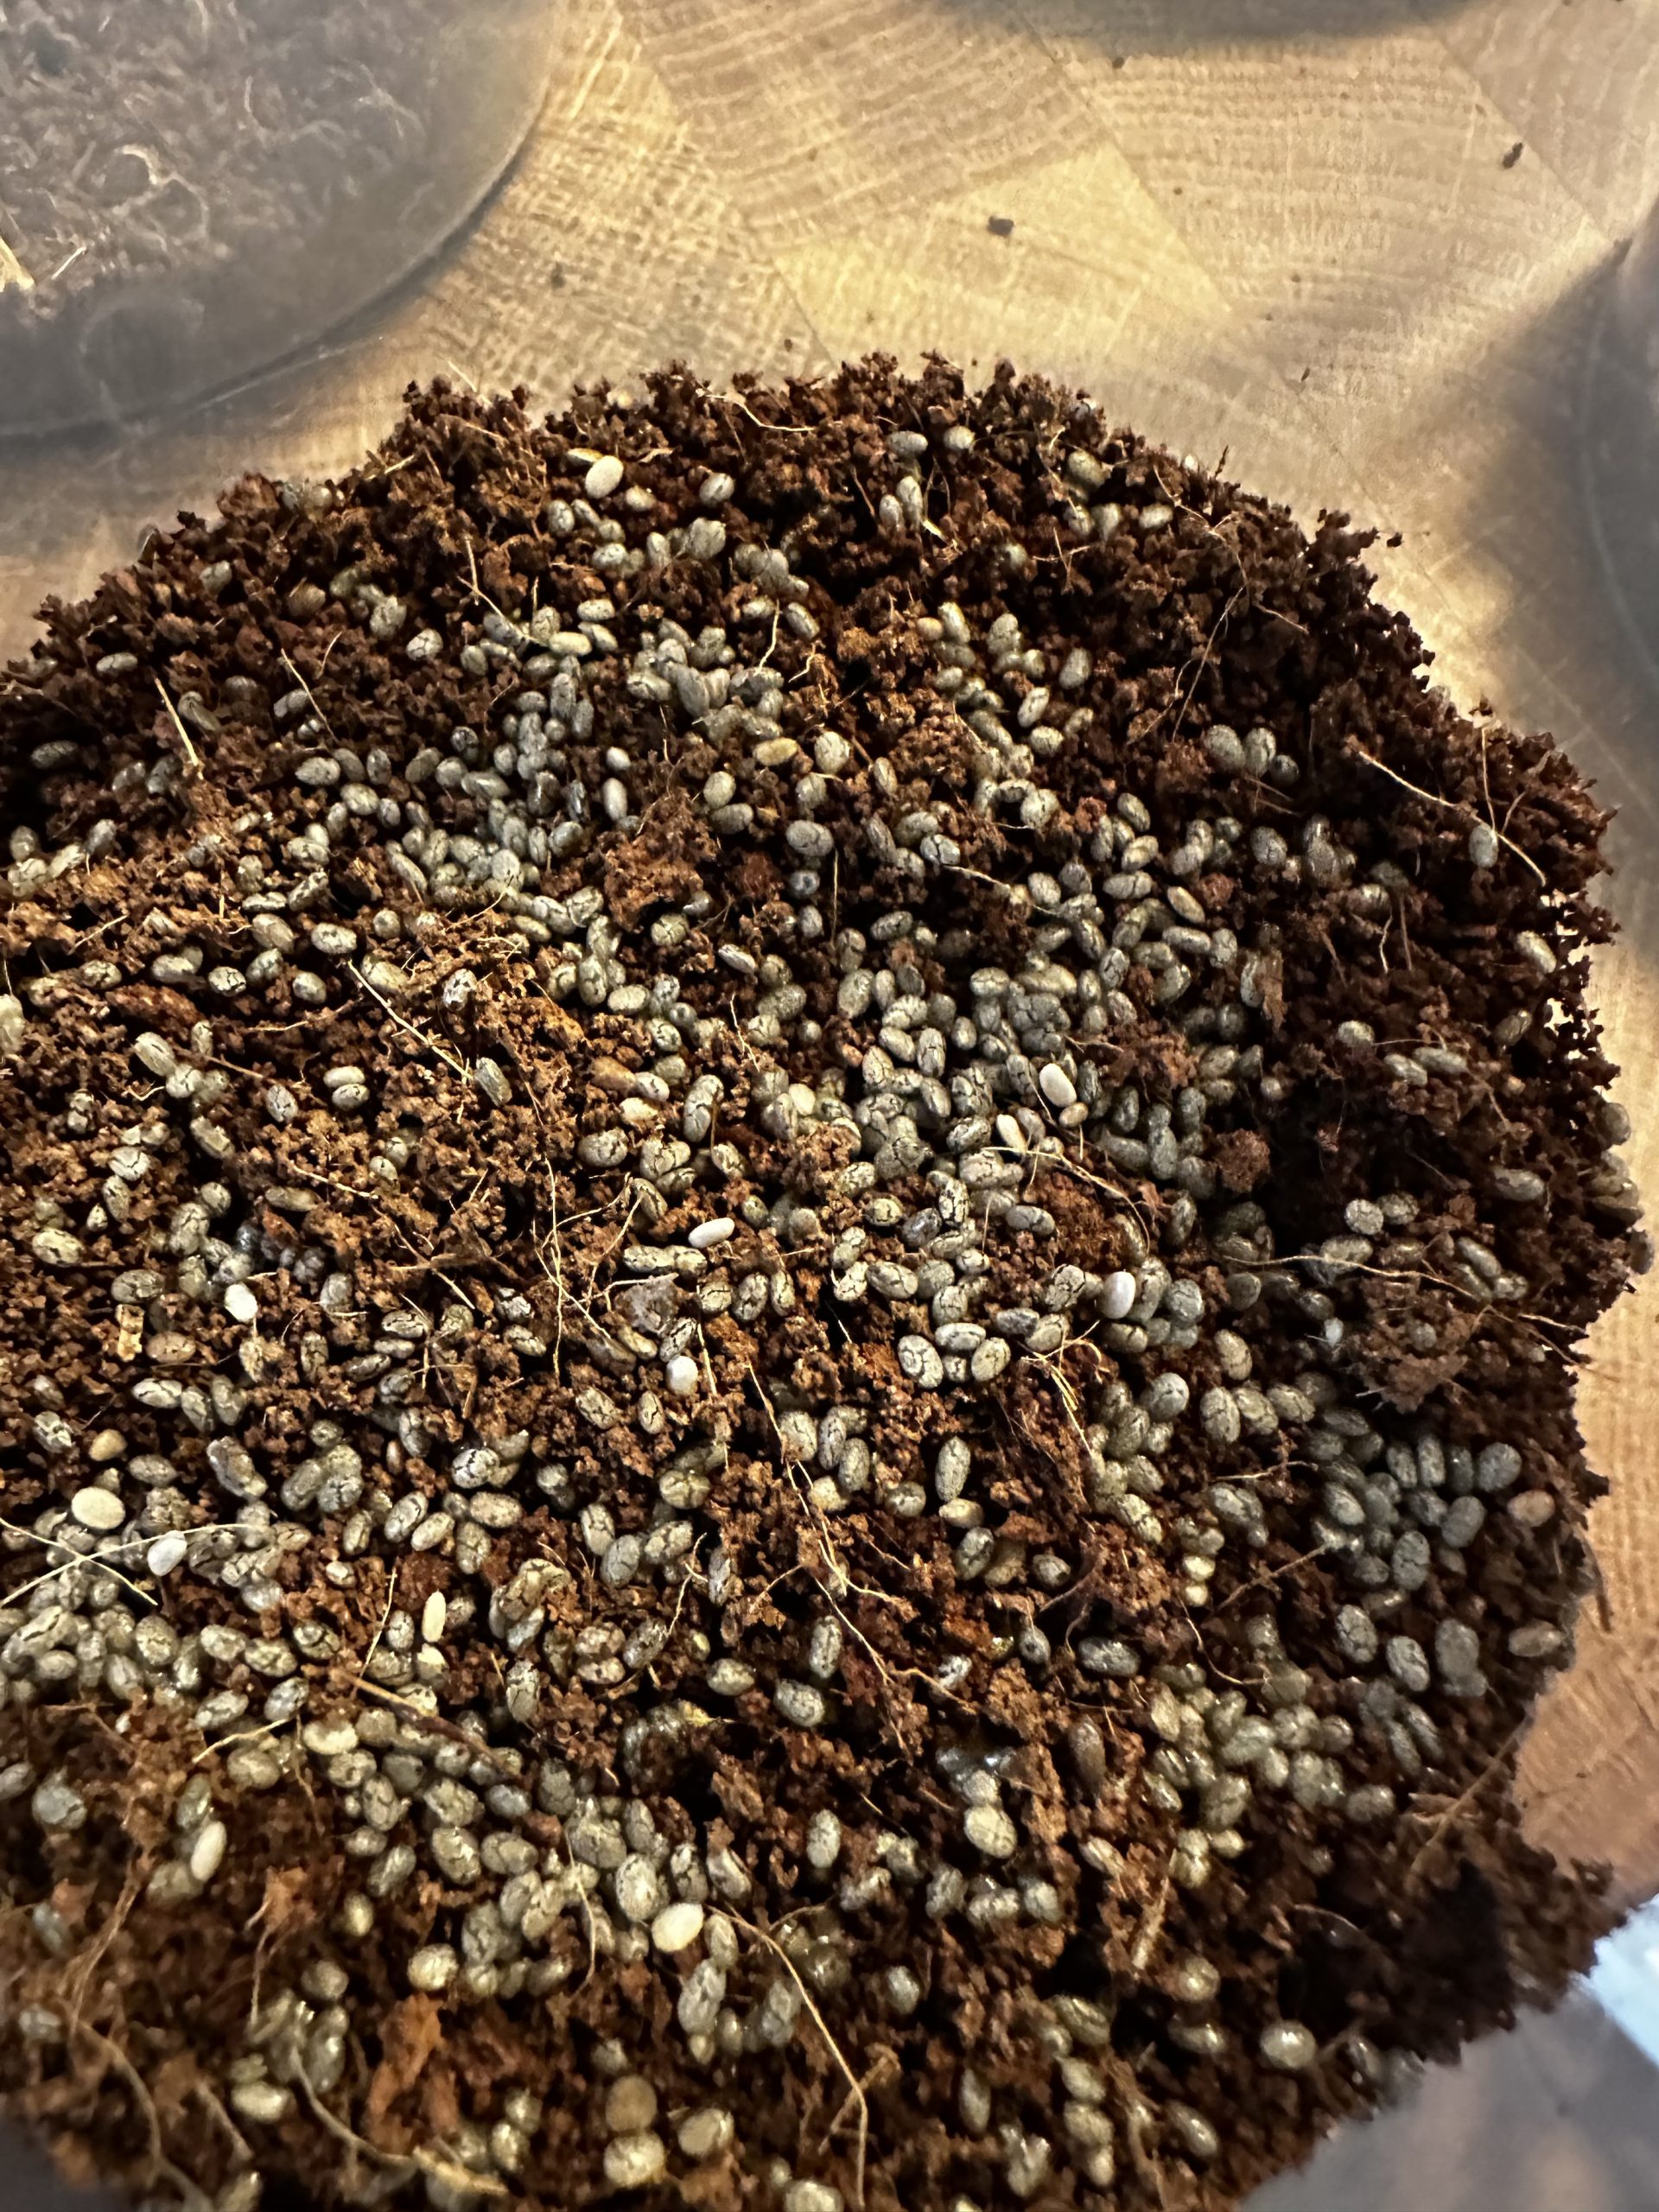
1. Dry container – this is a dormant kit with just dirt and seeds, ready to spring to life.
When you are ready to begin your journey, take off the lid and add just enough water to wet the entire environment (about 2 tablespoons). Try not to disturb the distribution of the seeds or over-water.
Rest the lid back on top without sealing it, and your seeds will begin germinating.
2. Wet container – someone has awakened the plants!
They need care and attention – but not much, don’t worry.
Unseal that lid and give the environment a little water once or twice a day. If there are no sprouts yet, rest the lid on top with a crack for respiration to occur. This helps the moisture stay in the environment, which is not ready for light yet anyway.
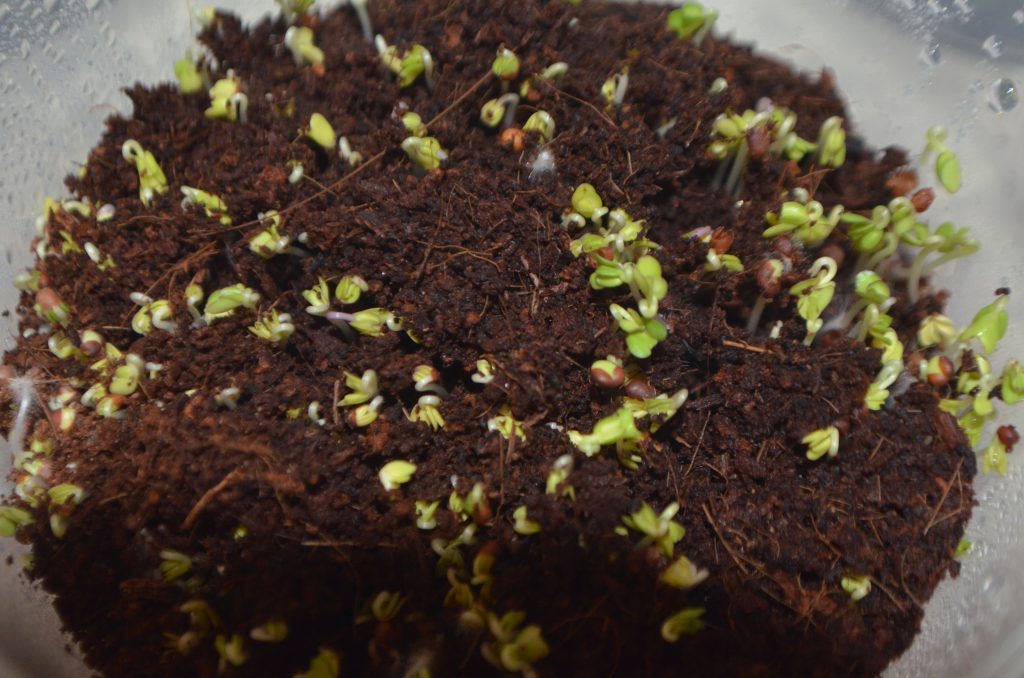
3. I can see something – perfect, you are nearly halfway there.
You will see tiny shoots extending from the soil, the seeds have sprouted! This means its time to set aside that lid (please re-use these containers in your kitchen or garden or bring them back to me for store credit). Now the greens need some light, find a spot with some natural light or under your very own grow light.
Keep watering once or twice a day as needed, as these plants will consume a little more water now as they grow.
4. That’s green – wow did you get this far all by yourself?
Keep watering these as needed, help any stragglers out by moving debris or coaxing the greens out of any lingering seed hulls. You are halfway there.
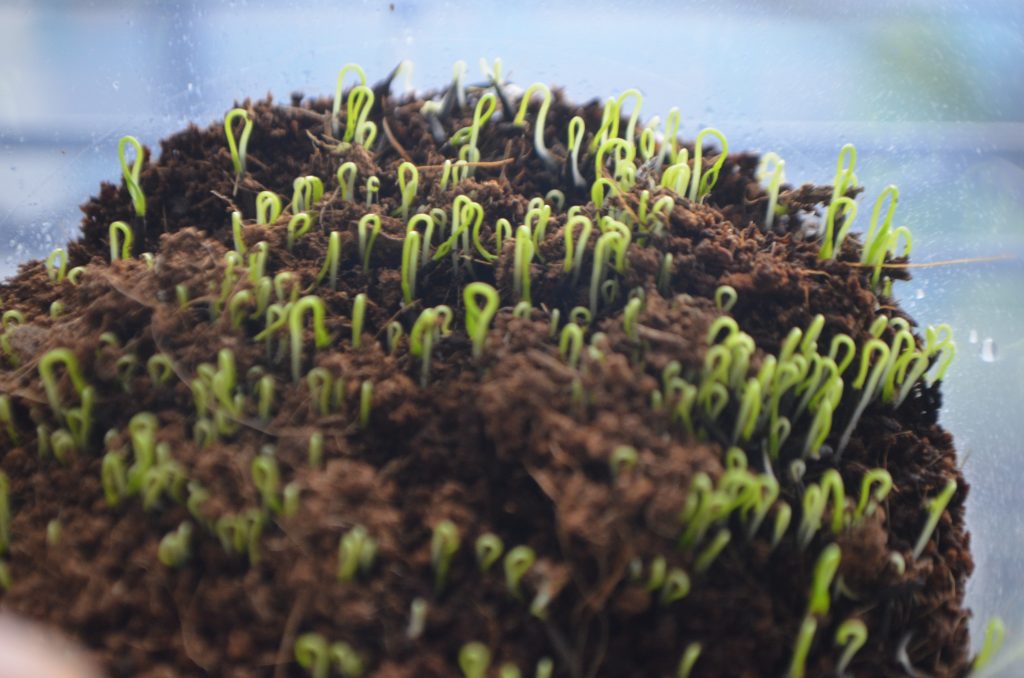
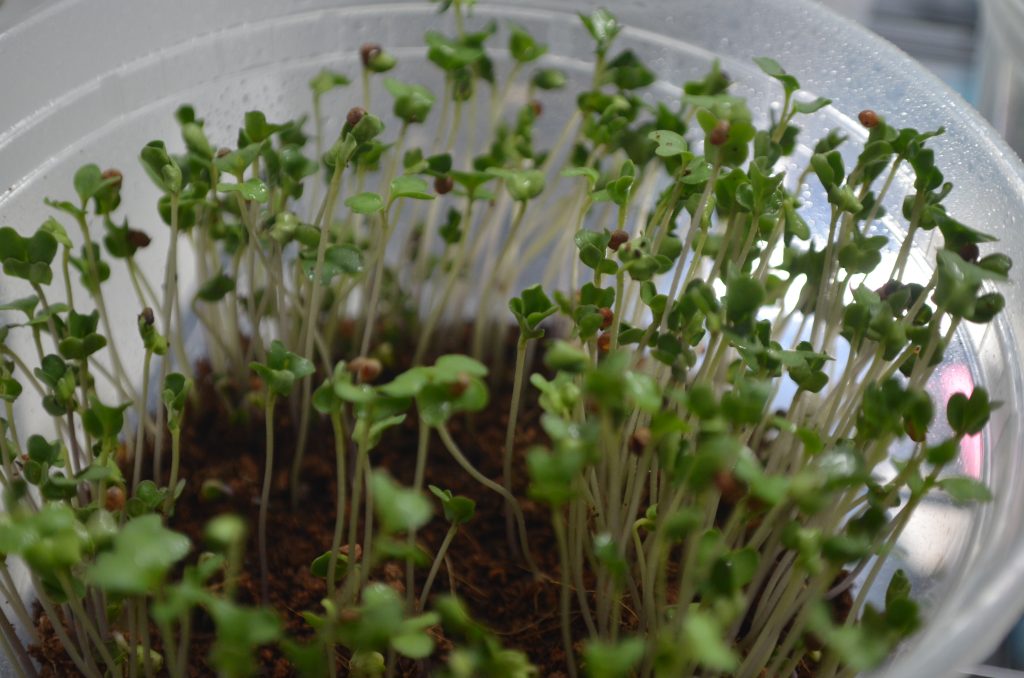
5. They grow up so fast – your greens are really maturing now and starting to look kind of tasty.
It’s amazing how fast they grow. Continue keeping the soil moist enough to water the plants without drowning them or inducing mold growth. Water once or twice a day as needed.
If you have over-watered. it may benefit you to poke a couple holes in the bottom of the container. It can happen.
6. Should I sing? – yes, definitely sing to these plants.
By now you have probably grown attached to these beautiful, tall greens but that’s ok, they WANT you to eat them!
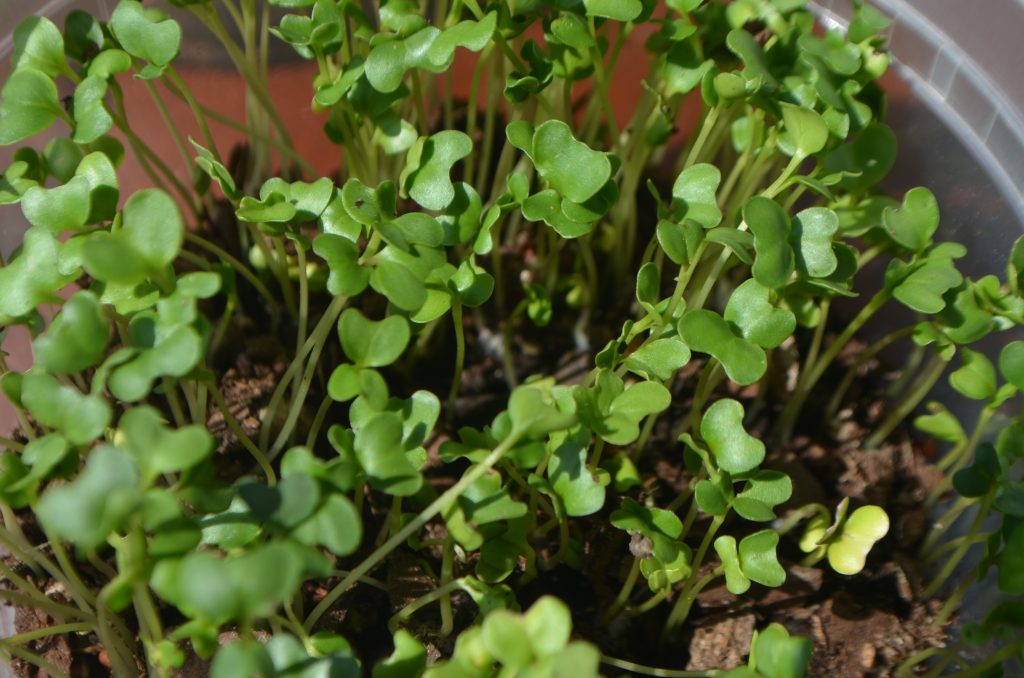
The leafy green tops are probably about level with the top of your container now, and are almost ready to eat. Continue watering and wait as patiently as you can.
7. Eat me – Its ok to try one. Maybe the whole kit is ready. I don’t know, I don’t live there.
I want to trust your judgement. Make the call. If they look ready to eat, cut off the top 2/3 of the plant and go nuts.
The white stem is great to eat, try to trim closer to the ground than the green, but not too far.
You don’t want any dirt in your food.
But if you wait a little longer, maybe they will keep growing. Take it as far as sense and patience allow, then enjoy!
When you are done, reuse the dirt to grow your own, purchase one our seed kits, or bring the container back to the farm stand for a 50cent credit.